Take a look at this photo from my last post. This is the output straight from the HDR step. The HDR process "enhances detail" and so it tends to worsen these dust spots.

Here's a zoomed-in look at an especially bad part of the sky. Yuck!
It's not the end of the world, though. Even basic editors like Picasa have tools for removing dust spots. So the next step for me is to go in and heal all of these nasty little spots. Sometimes they can be tough to spot; I find that it helps to drag the photo around--your eye seems to notice them better when the picture moves.
Here's a screenshot from Lightroom showing all the places I had to remove dust. What a pain!

So what do you do about it? Well, many of you probably have newer camera bodies which have some automatic sensor cleaning and "dust-delete" technology built in. Our 20D does not, though, so I just constantly gripe about it and say to myself all the time "man, I really need to clean my sensor sometime!".
I'm finally getting around to cleaning it, and I thought I'd share the experience with you as well as record some notes for myself for future cleanings.
For starters, cleaning your sensor sucks. It's difficult, scary, and not very cheap. I haven't been perfectly happy with my results, either. The first time I did it, a little fiber managed to make its way into some part of the viewfinder and I haven't been able to get it out. So, with that cheery outlook...
Test shot
The first step is to take a test shot that clearly shows all of the dust on your sensor. Do this with a long focal length (I used our 50mm f/1.8 lens), the lowest ISO (100 for me), and the smallest possible aperture. Focus at infinity and take a picture of a blue sky or an evenly-lit, light colored wall. With these settings, it will probably be a really long exposure, but don't worry about it. Motion blur doesn't affect the dust particles on the sensor, and could even help by blurring out any unwanted detail in the wall.
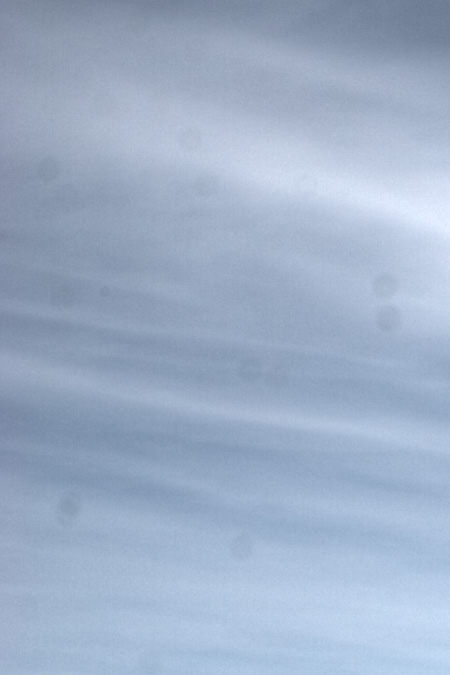
Here's my initial test shot of a cream-colored wall.

You can zoom in on this photo and spot the dust. To really highlight the dust, though, bring the photo into Photoshop or the GIMP.
Go to Image->Levels Adjustment and adjust the levels to create some crazy contrast. Bring the black and white sliders all the way into the edges of the histogram, like so:
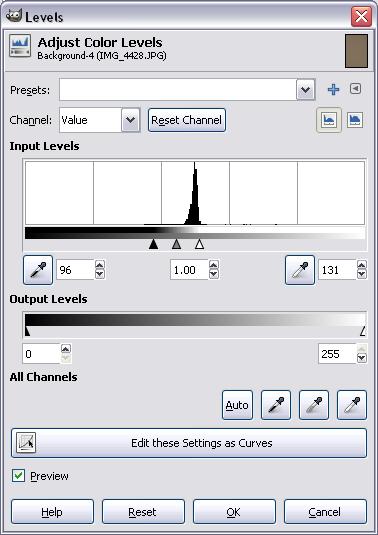
This should get you a crazy looking photo that really accentuates the grossness. The color can be distracting, so at this point I turn it to grayscale. Here's the same test shot with those adjustments:
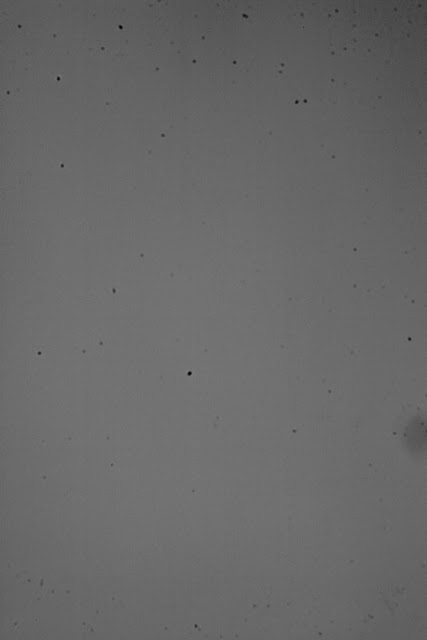
Now you have a baseline and you can try different cleaning techniques and see how much they improved things.
Cleaning the sensor
I find that anyone who says anything online about cleaning a camera sensor always adds a scary disclaimer to avoid any liability. So here's mine: do not treat this post as instructions for cleaning your sensor. If it reads like instructions, it's because I'm writing them to myself for cleaning my sensor, not for you to clean yours.
First off, you need an environment to work in that's as dust free as possible. I've read suggestions to use a tiled bathroom or kitchen with the windows closed.
Our home was built in 1928 and the weatherproofing is hopeless. The first time I cleaned my sensor, I did it in our bathroom, and I literally watched a few dust particles fall into the camera body. This time around, I did it in my cube at work at the end of the day--definitely a pretty sterile environment, provided I cleaned off part of my desk.
You'll need a tripod to hold the camera while you work.

There are a variety of methods for actually cleaning your sensor. There are two that I've been using: a blower and sensor swabs.
I start with the blower. I use the tripod to point the camera at an angle downward to encourage dust to fall out and discourage dust from falling in. Your camera should have a function for locking the mirror up and out of the way so that you can get to the sensor. Mine is labeled "Sensor clean." and is one of the very last menu options. On the 20D, this locks up the mirror until you power off the camera.
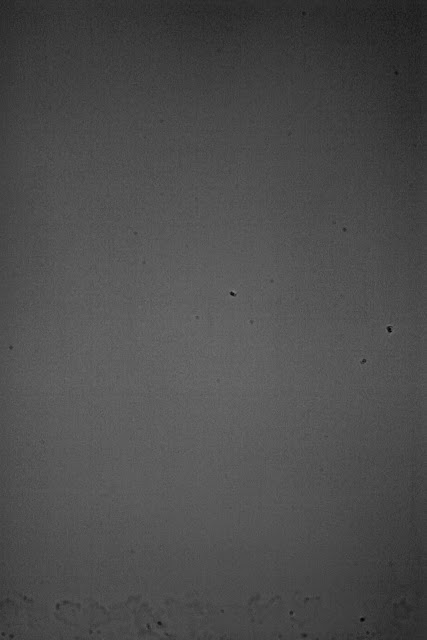
The first step, then, is to lock the mirror up and use a few forceful blasts of air to try and blow dust off the sensor. I did this and took another test shot; here's the before and after comparison.
 |  |
It's hard to tell with the small images side by side, but this did make a difference. Still pretty bad overall, though.
The next step is the sensor swabs. At this point, unfortunately, I don't really remember the research that went into choosing a brand of swabs and cleaner. If I remember correctly, I picked both the blower and the swabs up from a local camera store because they weren't any cheaper online. Also, I went with an off-brand sensor swab.
Using the swabs has never gone that well for me. The instructions are to apply the solution to the swab, then wipe in one direction across the sensor, then the other direction using the opposite side of the swab. I think this means that you should only have to put the swab in and out of the camera once, since you're basically wiping one way then wiping back the other.
I find the edges of the sensor to be the hardest part. After swabbing and taking a test shot, I ended up with what looked like some moisture residue along one edge of the sensor, plus a fairly large fiber. I decided to go in for a second swab, and it didn't get much better. I got rid of the fiber, but a couple large spots showed up in the middle, and the residue was still there along the edge.
Unfortunately that's pretty much where I left it. I tried a few more blasts of air but no luck. I've done a little more reading since then and found some other techniques to try. There's a relatively cheap "sensor pen
In the meantime, I guess I'll just keep doing spot removal when I process the images!
There are a lot of articles out there on sensor cleaning, so I'd suggest reading up before you try it. Here's one that I read this time around which had some helpful tips.
Good luck!

No comments:
Post a Comment